Welcome to part 2 of Dr. Bokena's blog, where I am gonna share more of my chemical engineering experiences. In my previous blog page, I was talking about how my group and I came up with a air purifier and even made a very advanced prototype. Currently, I am taking a continuation module called Chemical Product Design & Development. Do enjoy the nonsense I do during these lessons and practicals.
This blog will mainly consist of my laser cutting test experience and what are the things you should look out for when performing a laser cutting session
The 4 important hazards associated to the operation of laser cutting machine and their respective safety control measures (administrative/engineering control)
- Make sure to not stare at laser beam while the laser cutting is ongoing
- It is important to look at the progress of your work incases of any mishaps but staring at the beam many cause eyesight damage
- To prevent this take glimpses at the cutting process, instead of full on staring at the laser like one bokena (Administrative)
- There is always a possibility of a fire occurring during the laser cutting
- Any flame that occurs should one last for 1 - 2 secs, if the flames persists lift up the lid of the cutter and stop the cutting process
- If the flame is negligible, you can try to blow it off
- If the flame is small but is not extinguished via blowing it off, (Administrative)
- remove the material from the cutter
- place it on the ground
- proceed to step on it until the flame is out
- HOWEVER, if the flame is uncontrollable, do not hesitate to use a fire extinguisher to destroy the flame (MAKE SURE TO SHOUT FOR HELP TOO YOU BOKENA) (Engineering)
- Too much Smoke being produced when cutting is in progress (possible flare ups)
- Make sure to check the if the fume extractor is turned on, as stated on the standard operating procedure (Administrative)
- This will ensure that all the unwanted fumes will be removed from the laser cutter providing a clear view of the cutting progress
The materials that can be cut and can’t be cut using laser cutting machine.
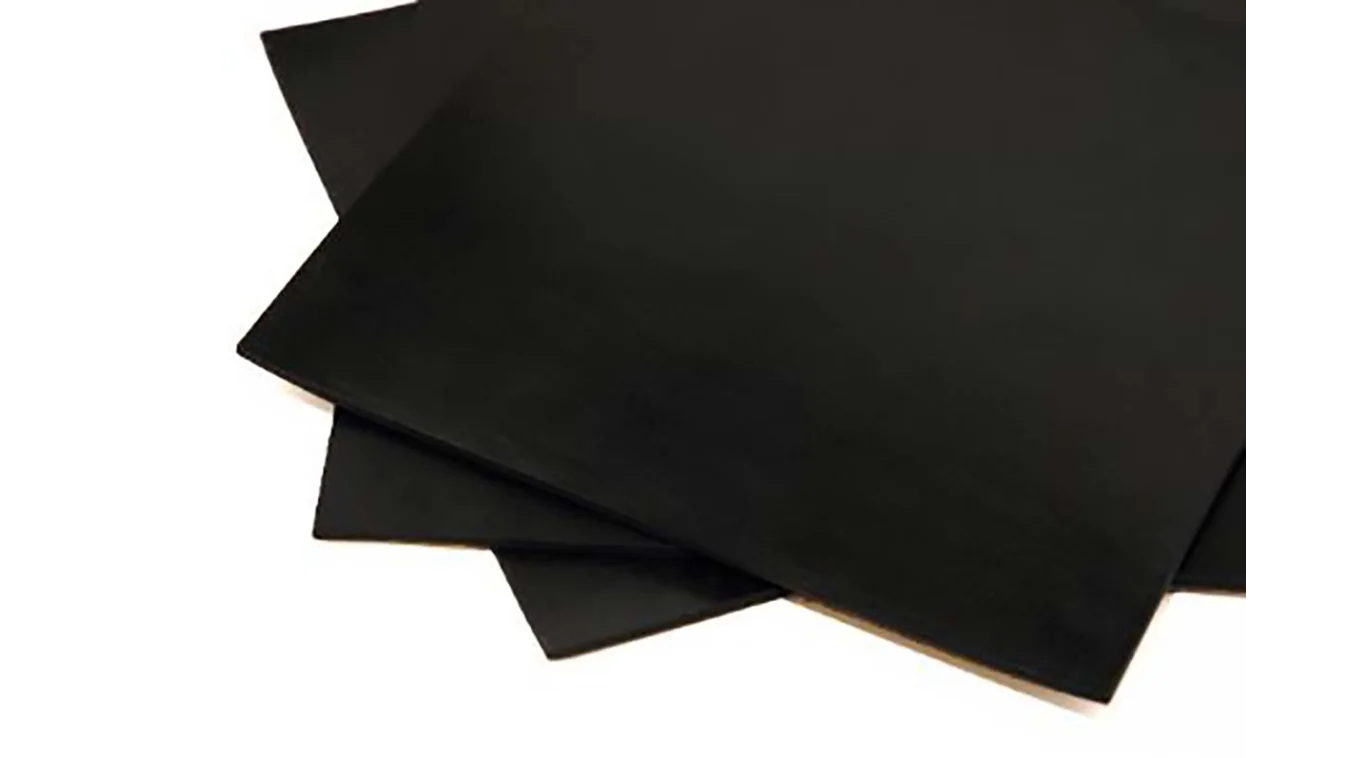
Materials that can be cut using the laser cutting machine (5mm thickness and below
- Acrylic
- Plywood (LaserPly)
- Cardboard
Materials to NOT cut using a laser cutter
IF YOU'RE LOOKING TO FAIL YOUR LASER CUTTING ASSESSMENT PLEASE FEEL FREE TO SUGGEST USING THESE MATERIALS
The steps including pictures on the operation of UNIVERSAL laser cutter, that consist of:
Starting the compressor, turning on the laser cutter machine and fume extractor
1. Turn on the light switch and the fume extractors
You can't miss them, they are the only 2 switches there Importing a .DXF file to corel draw and modify the lines/fill for cutting and engraving.
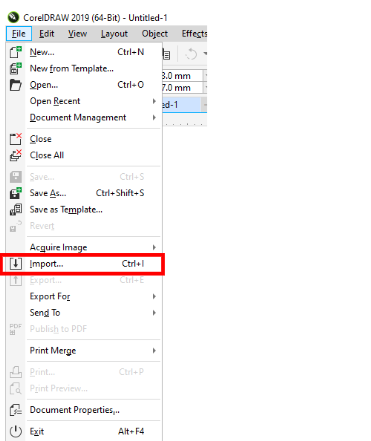
1.Select File (at the top left corner of the application) → Import → Select preferred . DXF file → press import
2. There are 3 different options available while using the Laser Cutter, and the following settings will allow the desired instruction to be followed
Vector Cut - Pen outline Colour: RGB RED
Line Width: Hair Line
Engrave - Fill Colour: RGB GREEN
Line Width: NONE
Vector Engrave - Fill Colour: NONE
Line Width: RGD GREEN
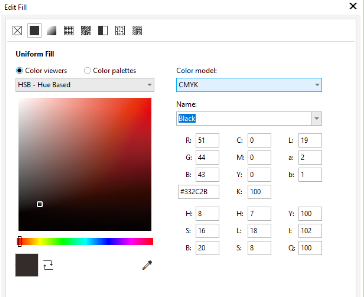
Fill Tool
Adding fill colours for engraving | Outline Pen
Adjusting line-width and colour for vector cut and vector engraving. |
| 
|

Change “colour model” to RGB. Change the colour to Green. | 
|
3. One desired settings have been chosen, the file is ready for laser cutting
Click on File → then select Print
Sending the coreldraw drawing to laser cutter software and setting the laser cutter power, speed, PPI in the software.
1. After pressing on print, A tab will open up
Press on the Cogwheel (boxed up in red) to select the print settings
2. Once the Cogwheel is pressed, A new tab will appear showcasing all of Universal’s material setting
3.
Once the tab from the step above appears, Click on LOAD for more material settings
Select the presets that matches your material type and thickness, then select OPEN
KEY DETAILS TO CHECK FOR
POWER - Output power of the laser ( recommended to keep at 50% )
SPEED - Movement of the laser head ( Low speeds means longer exposure time, higher speeds means lower exposure time )
PPI - Pulse Per Inch, the number of laser pulses over a given distance ( recommended at high frequency )
Z - AXIS - Usually set as the height of the material for optimal focus point
Once all the details have been chosen, click OK → then Print
If the dialog disappears as if nothing has happened,
simply click on the Universal Control Panel (UCP) icon

Starting the job on the laser cutter machine.
1. Placement of the material on the laser cutter
Place the material at the top left corner of the laser cutter
Use move tool and move the print design to an empty space in the material
With the lid open, click on the focus tool, and a crosshair will appear
Using the focus tool, now we can check if our file is within the safe cutting area of the material [ to prevent the design from cutting over the voids of the material
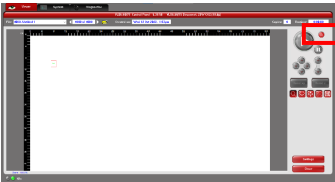
2. There are 5 major buttons when it comes to turning on the laser cutter
1 - Activate / Deactivate the laser
2 - Play Button to start Cut/Engraving
3 - Pause Button to pause/resume the Cut/ Engraving
4 - Essential Tools which will be covered next
5 - To change or set settings for different material
3. On the UCP, click the Next, click on Estimate Time button which will allow us to see how much time it will take button to activate the laser cutter on the top right of the control panel
4. Next press the Focus button to ensure that desired cutting area is chosen
5. Lastly, close the lid of the cutter and press the Power button to start print
6. Once print is done, wait roughly one minute before opening the lid of the cutter
7. Next, as the instructor told us, DO NOT TAKE OUT THE MATERIAL, tap the area that is required to be cut to ensure the piece is fully separated
8. Once the piece is confirmed to be separated, then only take out your final product
DOs and DONTs when there’s flame/fire on the material being cut.
DO'S
- If the flame is negligible, you can try to blow it off
- Do not hesitate to use a fire extinguisher to remove the flame
DONT's
- Hesitate to ask for help when in doubt or panic
- Continue cutting process when a flame appears
My Learning reflection on the laser cutter activities.
When I first heard about this practical, I was thinking about how we could be using the laser cutting to produce an invention and having to present it at the end of the lesson. That itself has it's own kind of stress. But this practical was more of creating my own instructions and following them without any partner beside me. The only person who was there was an unknown lecturer who only increased my stress levels.
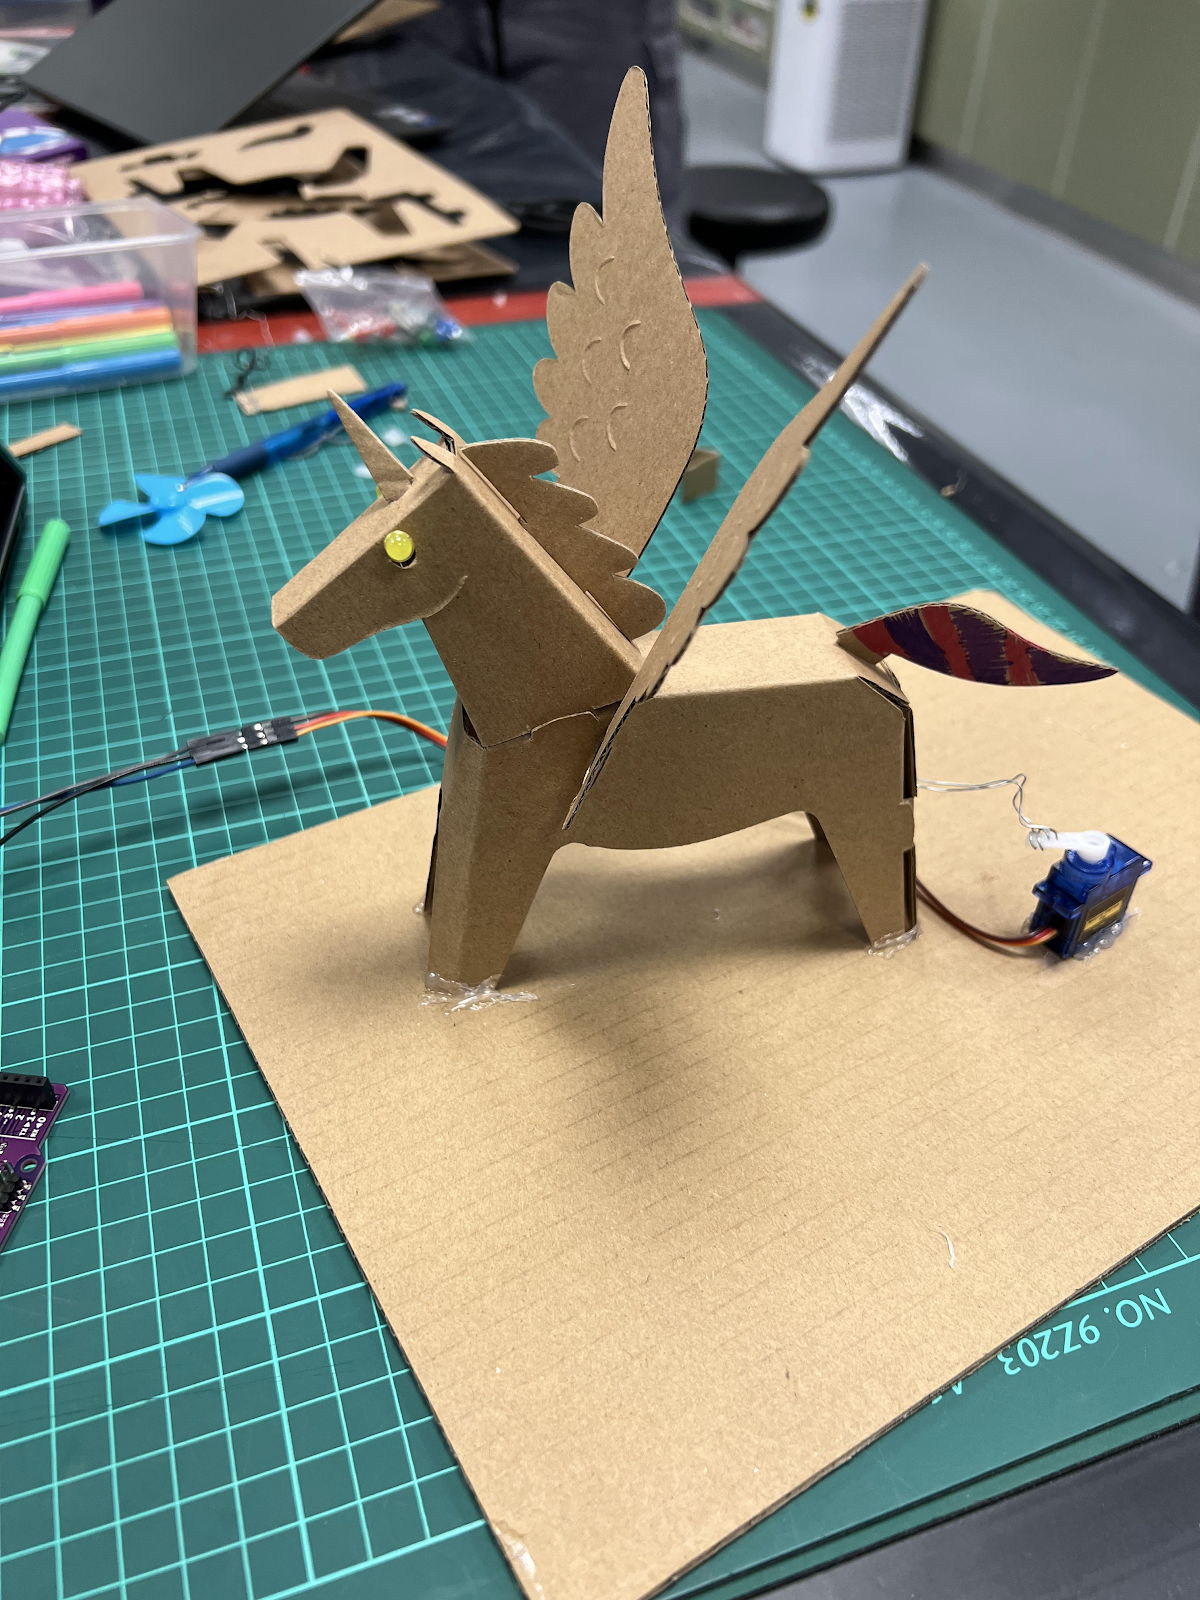
But this opened up a whole new horizon for prototyping, using cardboard to shape my designs may not produce the exact details I want to showcase to my viewers however, with the help of a laser cutter I cant carve out exact wording and cut of shapes of precise measurements. This would allow me to produce more confident results and provide me with more valid answers whenever I need to clear someone's queries.
In addition to 3D printing, passing this laser cutting test will also give me further acknowledgement that I too can conduct this kinds of practicals on my own without any guidance but of course lah hor, the laser cutting need someone else to watch you.
Another interesting thing was the making of my very own Standard Operating Procedure (SOP), usually we would have to produce them as a group which allowed me to check with others whether I am right or wrong. However, for this practical I had to ask others for help without making it seem like I am copying another classmates' work. ALL IN EFFORTS TO FIND OUT THE SUBMISSION ITSELF IS GOOD ENOUGH
Thank you for reading Blog 1 of the bokena series part 2, and I hope for the few readers to stay tune for more.


Comments
Post a Comment